Building & Editing Your Course - Go Further
This book contains additional ideas for incorporating content and activities into your courses you should consider using. Remember: This course is designed to be an introduction. For more advanced ideas, activities, and resources, please review our Advanced Usage of Moodle™ course.
2. Adding Files and URLs
A course outline or syllabus, usually a PDF document, is a common example of a resource many instructors upload to their course. There are many other file resources used within courses, including but not limited to, articles, how-to documents, HR paperwork, training documents, etc.
Drag-and-Drop Method
Though files can be added through the File resource (located in the Activity Chooser), the simplest option for adding files to your course is the drag-and-drop method. With editing turned on in your course, drag a file over one of the sections. If you see a dashed box appear, it's safe to drop the file.

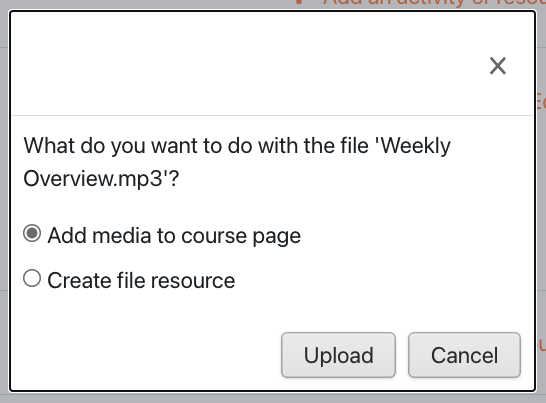
This function has contextual features that are dependent on the type of file you add to your course. For example, uploading a small video or audio file will display a prompt asking if you want to add it as media or a file. If you select "Add media to course page" the file will display in a media player.
You can also upload a .zip file with several files inside. If you upload a .zip you'll receive a prompt asking if you want to add the zip as a file, or if you want the files extracted into a Folder (another resource type).
Note: We strongly recommend using a streaming service like YouTube for larger media files. Moodle™ is not a video or audio streaming platform. Your learners will be required to fully download any media you upload directly to your course. This puts learners on mobile data plans or capped/limited broadband connections at a severe disadvantage when it comes to equitable access to your course content.
Manual Method
If you're having trouble with drag-and-drop, we recommend creating the File resource type through the Activity Chooser. This method requires more time, but also works. To upload a file manually:
- Turn editing on in your course.
- Scroll to the section of your course where the File should go.
- Click the +Add an Activity or Resource link to open the Activity Chooser.
- Select File
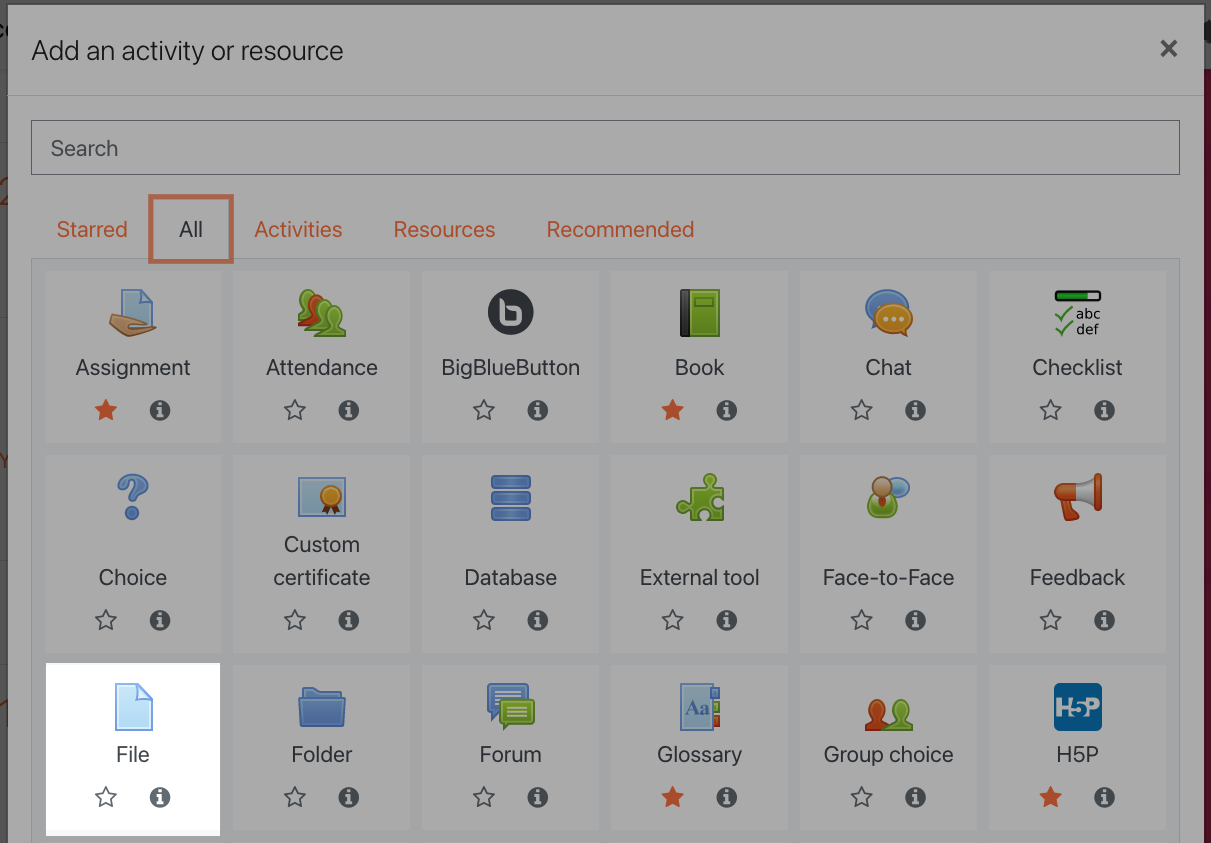
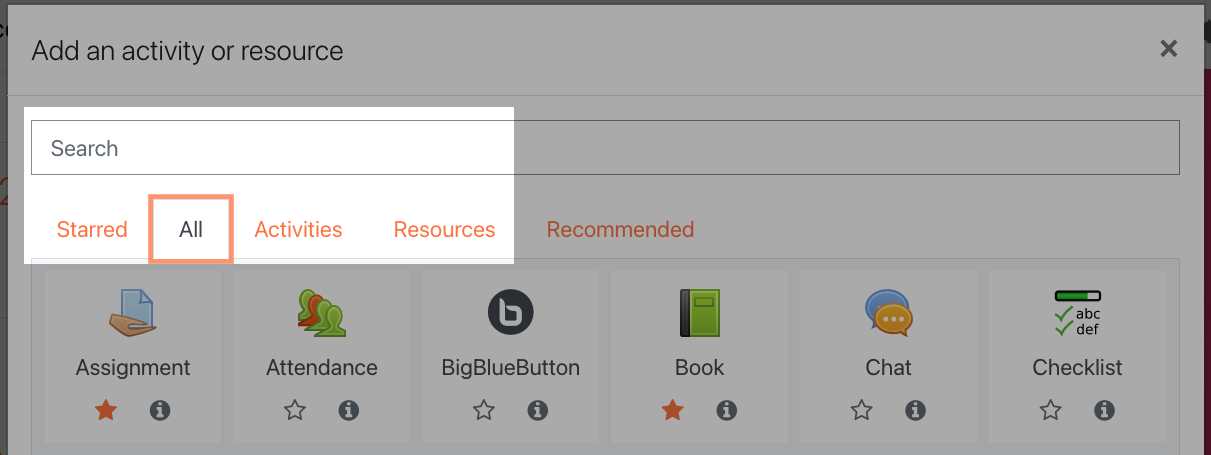
If you don't see the File resource, look under the Resources tab, or search for it using the search bar at the top of the Activity Chooser.
On the next page enter a name and description for your file. In the Select files upload area, under the Content heading, you can click on the Add file button to open the file picker window. Browse your computer for the file by clicking the Choose file button. This process is very similar to attaching a document to an email. Once your file has been selected in the File Picker, you can click the Upload a File button to upload it to your course. To finish, click the Save and return to course button.
Other Resources
Other course resources are added in the same way as the manual method for adding a File (turn on editing, open the Activity Chooser, and select the resource to begin creating it). For example, selecting the URL resource is one method of adding distinct links to external resources to your course. Selecting the Page resource allows you to create a single page of content. Selecting the Book resource allows you to create the same resource you're reading right now.