Building & Editing Your Course - Go Further
| Site: | Tri-City United Moodle Site |
| Course: | Moodle™ Basics - v3.11 |
| Book: | Building & Editing Your Course - Go Further |
| Printed by: | Guest user |
| Date: | Sunday, September 7, 2025, 3:38 PM |
Description
This book contains additional ideas for incorporating content and activities into your courses you should consider using. Remember: This course is designed to be an introduction. For more advanced ideas, activities, and resources, please review our Advanced Usage of Moodle™ course.
1. Introduction to Activities & Resources
Course content in Moodle™ is organized into two groups: “Resources” and “Activities.”
Activities are dynamic and interactive tools for use within your course. By nature, they require the student to actively engage with them. Forums, glossaries, assignments, and quizzes are all examples of activities.
Resources are passive content provided as informational supports for your course, and includes items like files, URLs, folders, and books. Both of these activity types are valuable tools for the course creator and should be utilized in order to create a rich, dynamic course.
The rest of this book will focus primarily on resources, including how to create media in your course, as well as embed external content.
2. Adding Files and URLs
A course outline or syllabus, usually a PDF document, is a common example of a resource many instructors upload to their course. There are many other file resources used within courses, including but not limited to, articles, how-to documents, HR paperwork, training documents, etc.
Drag-and-Drop Method
Though files can be added through the File resource (located in the Activity Chooser), the simplest option for adding files to your course is the drag-and-drop method. With editing turned on in your course, drag a file over one of the sections. If you see a dashed box appear, it's safe to drop the file.
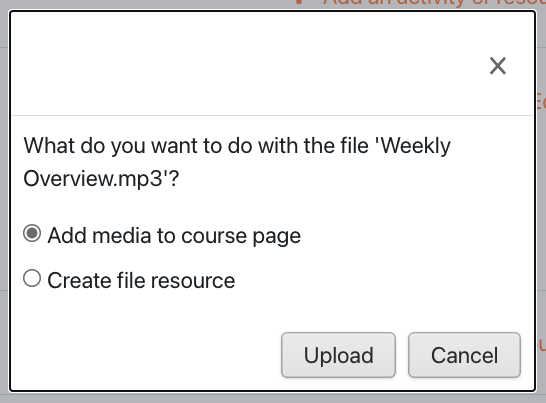
This function has contextual features that are dependent on the type of file you add to your course. For example, uploading a small video or audio file will display a prompt asking if you want to add it as media or a file. If you select "Add media to course page" the file will display in a media player.
You can also upload a .zip file with several files inside. If you upload a .zip you'll receive a prompt asking if you want to add the zip as a file, or if you want the files extracted into a Folder (another resource type).
Note: We strongly recommend using a streaming service like YouTube for larger media files. Moodle™ is not a video or audio streaming platform. Your learners will be required to fully download any media you upload directly to your course. This puts learners on mobile data plans or capped/limited broadband connections at a severe disadvantage when it comes to equitable access to your course content.
Manual Method
If you're having trouble with drag-and-drop, we recommend creating the File resource type through the Activity Chooser. This method requires more time, but also works. To upload a file manually:
- Turn editing on in your course.
- Scroll to the section of your course where the File should go.
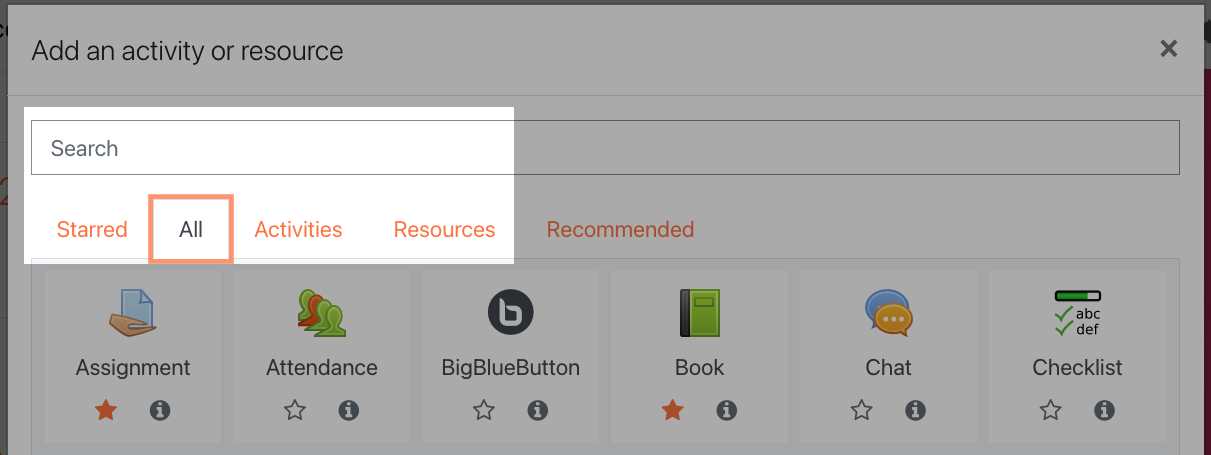
- Click the +Add an Activity or Resource link to open the Activity Chooser.
- Select File
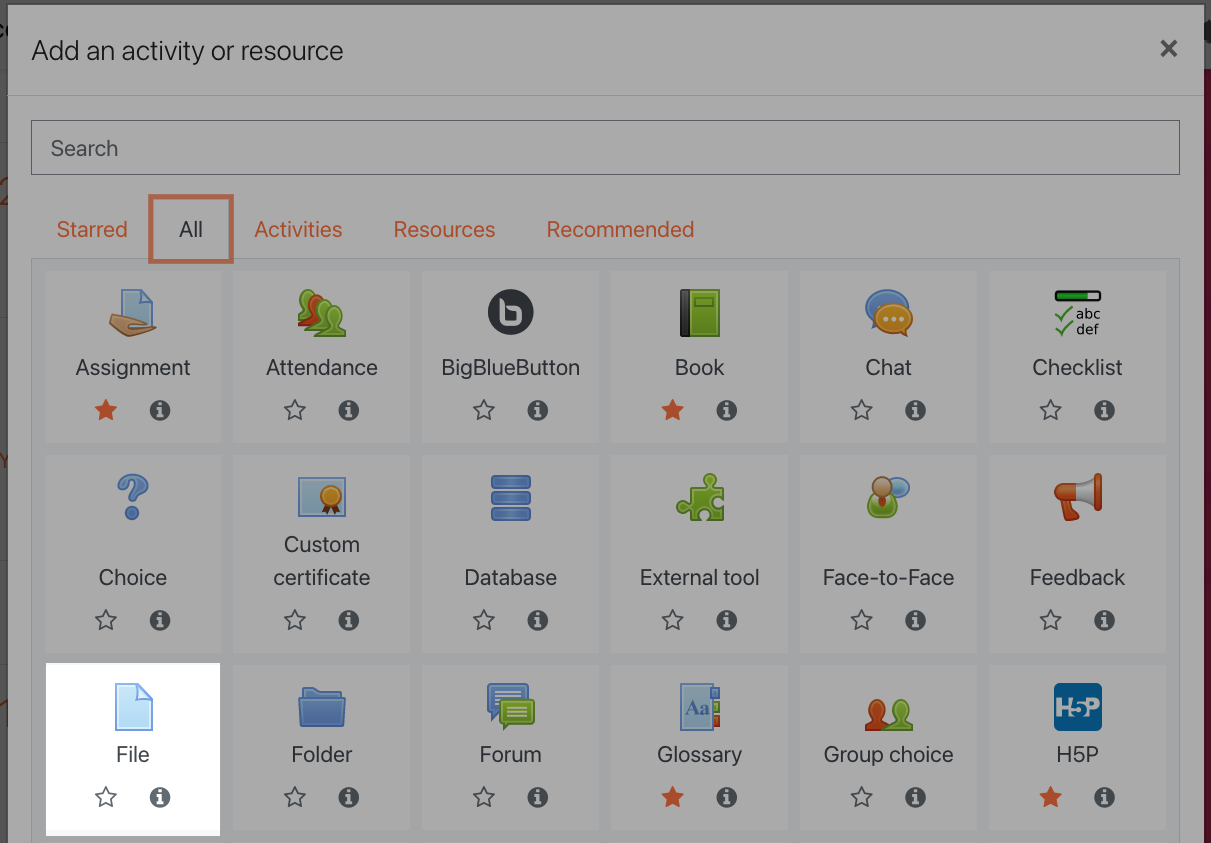
If you don't see the File resource, look under the Resources tab, or search for it using the search bar at the top of the Activity Chooser.
On the next page enter a name and description for your file. In the Select files upload area, under the Content heading, you can click on the Add file button to open the file picker window. Browse your computer for the file by clicking the Choose file button. This process is very similar to attaching a document to an email. Once your file has been selected in the File Picker, you can click the Upload a File button to upload it to your course. To finish, click the Save and return to course button.
Other Resources
Other course resources are added in the same way as the manual method for adding a File (turn on editing, open the Activity Chooser, and select the resource to begin creating it). For example, selecting the URL resource is one method of adding distinct links to external resources to your course. Selecting the Page resource allows you to create a single page of content. Selecting the Book resource allows you to create the same resource you're reading right now.
3. Uploading Images
Images can be added into any text box with the text editor. To add an image click the Insert or edit image icon at the top of the text editor.

From here you can either paste the URL of an image or upload the picture from your device.
Click the Browse Repositories button to open the File Picker, then browse for the image as if you were attaching it to an email.
After uploading the image, but before it's inserted into your text, you'll be prompted for additional information in the Image Properties panel. This includes:

- A description of the image for learners who are blind or visually impaired.
- These descriptions are meant to be brief and to the point. You don't need to include phrases like "image of" or "picture of" since a screenreader already knows to announce that content is an image.
- If your image is decorative or non-essential for understanding, check the box next to "This image is decorative only"
- The ability to resize your image before inserting it.
- We generally recommend keeping the width to 600 or lower.
- Be sure to check the "Auto size" button when resizing an image, or you may accidentally distort it.
- Set the alignment for your image.
- The default will display the image beneath the text, but it can also be aligned above, below, left, right, and in the middle.
4. Embedding Audio and Video
Embedding YouTube Videos
YouTube is the easiest external service to embed into your course since it involves no code. To add a YouTube video, simply copy and paste the link into a text box. The link will be turned into an automatically embedded video.
Embedding Other External Resources
Other external resources will require extra steps to embed. This can vary depending on the site or service you're using, but generally:
- Open the resource on the site where it's hosted.
- Look for an embed button, which is likely underneath the resource.
- If you don't see an embed button, look for a share button. There's like an embed option in their share sheet.
- Copy the embed code.
- Return to the text box in your course.
- Click the HTML icon in the text editor (</>). This changes the text editor to an HTML editing mode.
- If you don't see this icon, click the Show/Hide Advanced button (⤵️).
- After clicking the HTML button, paste your embed code into the text box.
- Click the HTML button once more to return to the normal editing mode.
Note: If your embed code includes the word "iframe", it will not display in all areas of your course. Unfortunately iframe code has been used by bad actors in the past, and can pose a security risk depending on the source. Media embedded using an iframe will be automatically stripped out of all activities that learners can contribute to. This includes Assignment submissions, Wiki pages, Forum posts and replies, Database and Glossary entries, and Blog posts. In those activities it's safer to post a link to the resource rather than trying to embed it.
5. Record Audio & Video
If you're taking a more DIY approach to course media, you can create brief audio or video recordings through the text editor. Though it's a very simple interface for recording short bits of audio or video, it's important to note several limitations of this feature.
- Short recording times. Though this can be an advantage if you're recording a brief introduction to a section or topic, or a forum post, the default recording length of two minutes isn't enough for more in-depth course content.
- Limited recording sources. The video feature only records from your device's webcam, which means it cannot be used to create or upload screencasts.
- Inaccessible. Neither recording method includes a captioning or transcription feature. We recommend including a separate transcript of your recording in the text below your recording.
- No mobile support. As easy as this feature is to use, it's unfortunately not supported on mobile devices. Neither you nor your learners will be able to create a recording, or view a recording, on a mobile phone or tablet.
Despite these limitations, this feature is a great and easy way to add more presence to your course.
Atto Recording
Anywhere you see your Atto text editor you can use this feature. If you don't know what the Atto text editor is, it's whenever icons are displayed above the text box.
The record audio button is a microphone, and the record video icon is a camera.

Click either record button of your choosing. A box will appear and prompt you to begin recording. The first time you use either feature you will likely have to allow your browser to access your computer's microphone and/or webcam.
When you begin your recording a two minute countdown will be displayed over the recording button. Stop the recording when you're done (otherwise it automatically stops when it reaches the two minute limit). You can listen to or watch the recording before saving.
This feature is a great way to incorporate media into your courses, and to personalize the delivery of your material.
6. Creating hyperlinks
We previously covered how to add external URLs into your course, but you also have the option of inserting hyperlinks directly into content. You can use this feature, available within the text editor, to link students out to external content that supports their learning.
Adding Links
To create a hyperlink:
- Highlight the text you want to become the link to a URL.
- When you highlight the text, you will notice that hyperlink options become enabled in the text editor menu.
- Click the chain link ("Link) icon to turn the text into a link.

- In the pop-up that appears, copy and paste (or type) the address into the Enter URL field.
- If this link is to a page outside of Moodle, we recommend selecting the Open in New Window checkbox
- Then click Create Link button at the bottom to finish.
Now you’ll see the highlighted text appear as a link to the URL you provided.
If you need to remove a link you've created, click anywhere in the link, then click the broken link ("Unlink") icon. ![]()
Bonus Tip
You can use the link button to link to a file instead of a website. In Step 3 above, click the Browse Repositories button instead of typing a URL, then select the file as if you were attaching it to an email.
7. Considerations for Mobile
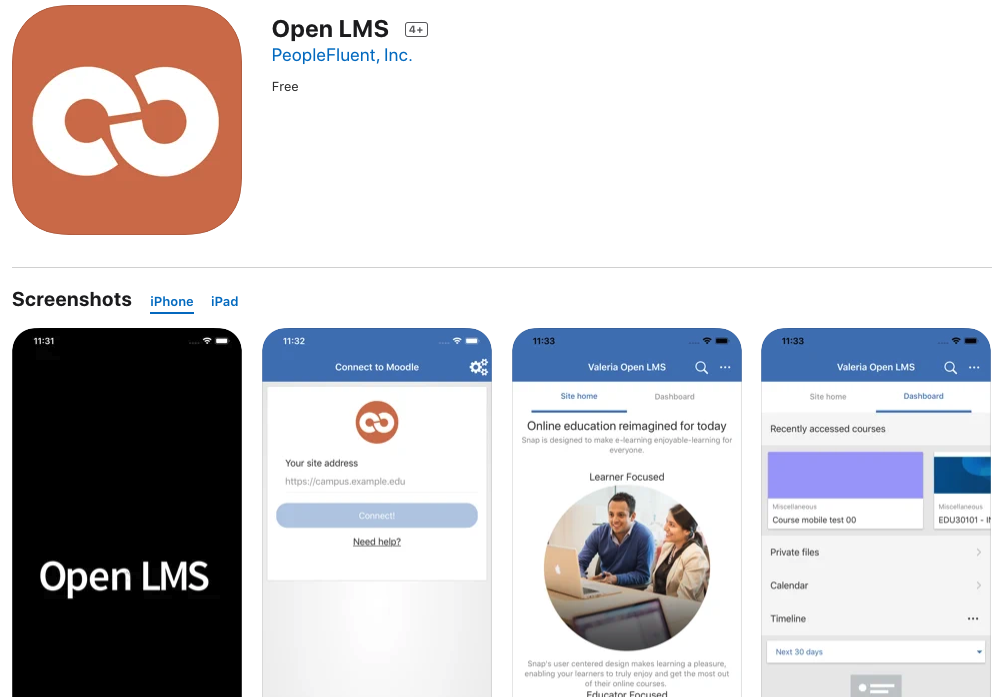
The Open LMS mobile app has become an essential tool for learners to engage with course content on the go, especially as schools, businesses, and organizations cope with the challenges of unplanned disruptions due to natural disasters, and COVID-19.
The app is freely available for download via the App Store and Google Play, and gives users online and offline access to their courses and content. Students are able to enroll in courses directly inside the app (if the instructor has enabled this for their course), as well as chat, send messages and receive notifications. Students can also participate in forums and other course activities, take surveys, upload content and media, and view grades. Activity completion reports and Learning Plans are also accessible on the app giving students the ability to track their progress within a course from their phone or device.
In order to provide the best user experience for your learners, please keep the following considerations in mind when designing mobile-friendly courses.
- Topics or weekly course format work best for mobile devices.
- Avoid orphaned activities, or using direct links to activities (the links will work but is not the best experience for mobile).
- Site or course blocks are not displayed in the Open LMS mobile app. Avoid putting important information in blocks.
- Try to use a page resource instead of downloadable documents where possible.
The Open LMS mobile app is available for free for Android and iOS in Google Play and the App Store. You can install the app directly from your mobile device by searching for 'Open LMS' with author/owner 'PeopleFluent, Inc.'.
More information about the app, as well as links to download it for iOS or Android, can be found on the Open LMS website.