Setting Up and Using Attendance
Most instructors who use Attendance add it to the general topic at the top of your course, and generally only use one instance of Attendance. A single Attendance activity can contain an unlimited number of class meetings, trainings, and/or events.
Creating an Attendance Activity
- Open your course and turn editing on
- Click the Add an Activity or Resource link in the topic of your course (we recommend the general topic at the top of your course)
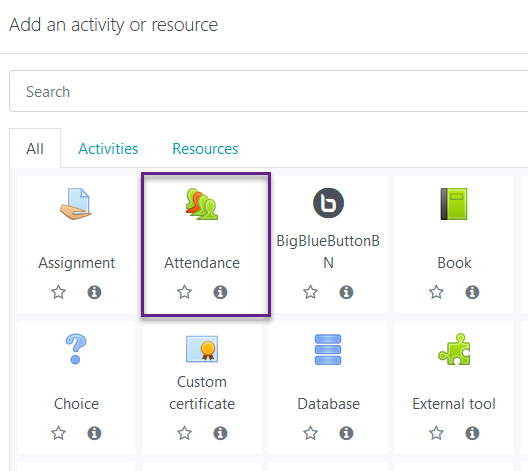
- Select Attendance from the list of Activities that appear
Configure the settings for your events on the next page. This includes (optionally) renaming Attendance to something else (some instructors use "Attendance and Participation", and assigning a grade. Click the Save and Display button to create and view sessions.
How Attendance Grades Work
Attendance uses the PLEA model by default for tracking attendance. PLEA stands for Present (2 points), Late (1 point), Excused (1 point), and Absent (0 points). Under this model, 2 points = 100%, 1 point = 50%, and 0 points = 0%. These grades are automatically scaled to the value you set in the Attendance settings (this is usually 100 points). This means that if you enter attendance for one class session, and the learner is marked present, their grade will appear as 100 in the gradebook (even though they've technically only earned 2 points. There is currently no way to calculate this grade as a running total.
Adding Sessions to the Attendance Module
- Open your Attendance activity
- Click the Add session tab

3. From here, you can create all of your class sessions at once using the steps below. It's worth noting that courses rarely meet every single day they're scheduled to due to holidays, breaks, and closures. It is still easier to create all of your sessions as if you were meeting consistently, then delete the extra sessions later.
- Check the Create multiple sessions box
- For Session Date, enter the date and time of your first class session from the drop-down menus (note that it is a 24-hour clock)
- Enter the duration next from the drop-down menu (e.g. 1 hour 45 min)
- For Session end date enter the date and time of your last class session from the drop-down menus (note that it is a 24-hour clock)
- For Session Days, select the check boxes for the day(s) of the week your session meets
- Set the Frequency (the default is 1 session per week)
- (optional) Provide a Description
- Click the Add session button to finish
- You will see a message that the sessions were created successfully, and will land on the Add tab again once the page refreshes. Switch back to the Sessions tab to make sure they were created.

Submitting Attendance
- Open the Attendance activity
- Click the Sessions tab if it's not already selected
- Locate the desired session and click on the green circle icon under Actions to view your roster and submit
- Select the appropriate radio button for each student - Present/Late/Excused/Absent (displayed as P L E A)
- Pro Instructor Tip: Most of your learners are likely to be Present, with only a handful being Late, Excused, or Absent. If you click the P in the header row, all learners will be marked Present. You can then update just the learners who were not Present before saving.
- (optional) Leave written feedback
- This feature works well for you to add internal notes related to a learner's absence.
- Once finished, click the Save attendance button near the bottom of your roster