About Assignments
| Site: | Tri-City United Moodle Site |
| Course: | Learner Orientation - v3.11 |
| Book: | About Assignments |
| Printed by: | Guest user |
| Date: | Saturday, September 6, 2025, 2:57 PM |
Description
This book outlines a few ways your instructors may set up an Assignment, and how to submit your work in the Assignment activity.
1. An Introduction to Assignments
Assignments allow you to submit work to the person moderating your course. This is usually, but is not limited to, a paper or document you've created. Assignments can also be configured to require you to type text into a box in your course rather than, or in addition to, uploading a document you've created.
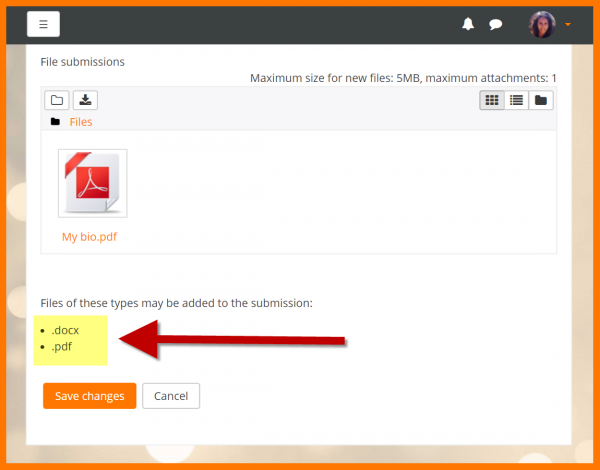
For these reasons it's important to always take an extra moment to make note of your instructor's directions. For example: Your instructor can indicate what type of file is required for an assignment. If your instructor has used this setting, you'll be prompted to submit a specific file type. The screenshot below is an example of what you'd see on screen. If you attempt to upload a document not specified by your instructor, Moodle™ will prompt you to submit another file type, and your original upload will not be accepted.
The rest of this Book covers other tips you'll need to know to successfully submit your work through an Assignment activity.
2. Using the File Picker
The video below demonstrates how to upload a document to an Assignment via the "upload file" option.3. Using Private Files
You do not have to use the Private Files area to upload a document to an Assignment (or other type of activity) in Moodle™. Some learners opt to use Private Files because it allows them to keep all of their course-related documents in one space.
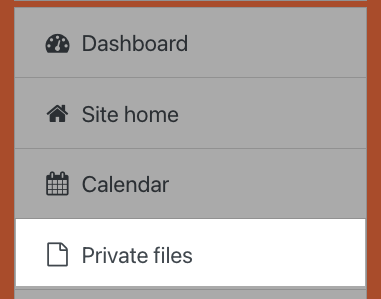
The Private Files area can be accessed from the navigation drawer or the My Private Files block. Not all sites use Private Files, so if it isn't present in the file picker, it's safe to say your site isn't using it.
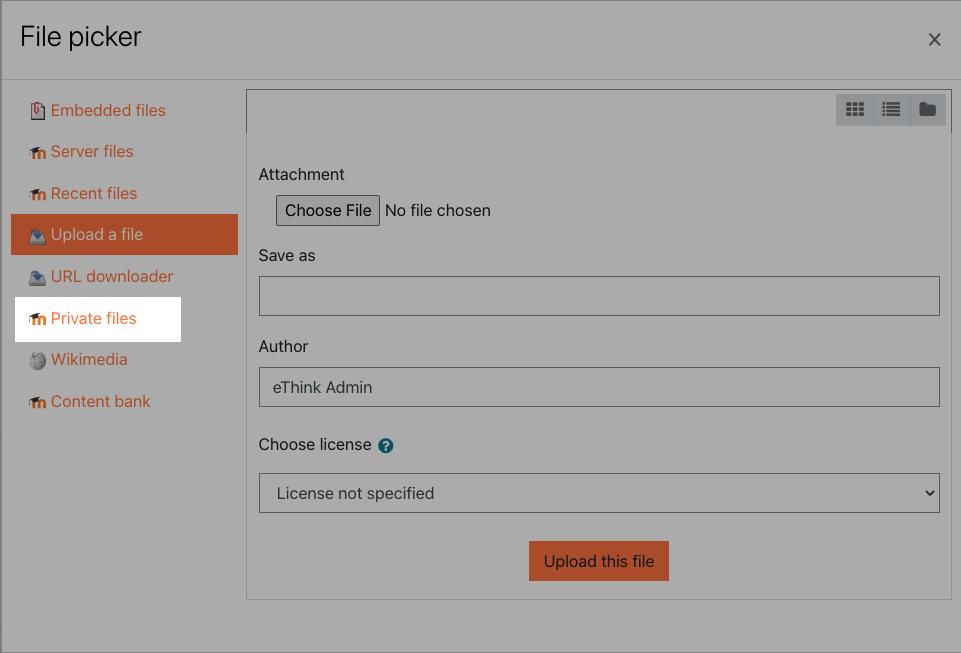
If the Private Files repository is enabled by a site administrator, it is available as a source within the File Picker when you select files to upload (like you would do when uploading an assignment).
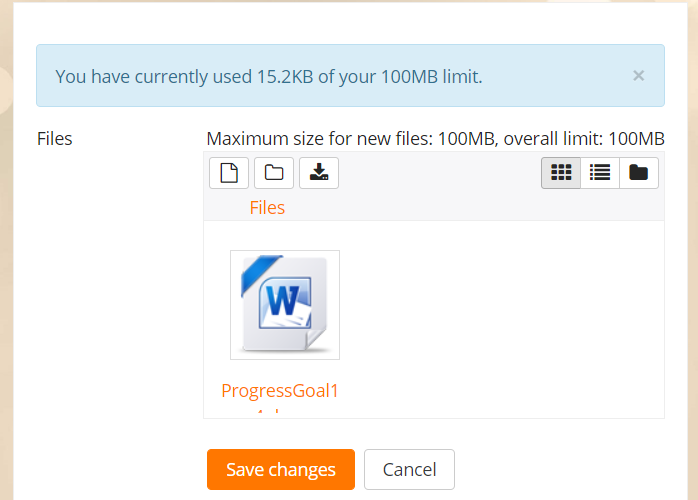
Once you've uploaded a file Moodle™ will display a message informing you how much of your Private Files space you have used.
4. Using the Drag-and-Drop Feature
This video walks through how to use the drag-and-drop feature, which is an alternative to using the File Picker we covered earlier in this Book.
5. Using the Atto Record Buttons
If your instructor has allowed for "Online Text" submissions, you can click the Add Submission button, then click the microphone or camera icons to record audio or record video for your response. The audio recording feature uses your default microphone. The video recording feature uses your default microphone and your default webcam. You will likely have to give your browser permission to use your microphone and/or webcam the first time you use this feature.
How to Record an Audio or Video Response
Start by accessing the assignment you need to submit. Click the Add Submission button.
The Atto text editor icons are located above the text box. The recording buttons are a microphone symbol for audio (alt text is "Record audio"), and a video camera icon for video (alt text is "Record video").

Click either icon. You will be prompted with a box to begin the recording. As a reminder: you may need to allow access to your computer's microphone and/or webcam the first time you use this feature.

There is a time limit on the recording, and by default it will only be 2 minutes. It's helpful to practice what you're going to say or sign ahead of time, or record multiple videos/sounds for your submission.
Click the Stop Recording button when you've finished. You'll be able to review your recording before you submit it. You'll also be able to delete the recording and re-record a new version.
If you're satisfied with your recording, click the Save Changes button to submit your recording. It may take up to five minutes to submit your attempt because your recording needs to upload first. Please do not close the tab, refresh the page, or click the Save Changes button a second time.
6. Feedback on Your Work
Your instructor may provide you with feedback using any or all of the following options:
- typing feedback to you
- creating a short video or audio recording
- uploading documents back to you, including images
If your instructor uses any of these features, you'll see their feedback along with your earned grade when you view your grades.
To view your grades and the feedback provided by your instructor, click into the Grades menu from your Navigation drawer.
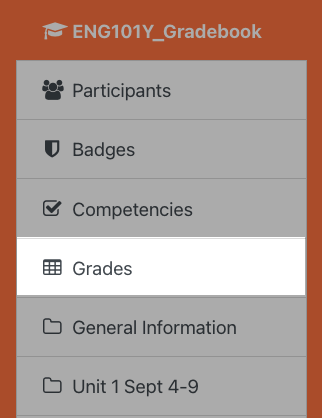
The next screen will display every item in the course that has been made visible to you by your instructor, and that can be graded. Locate the item you submitted to view your grade and the associated feedback.
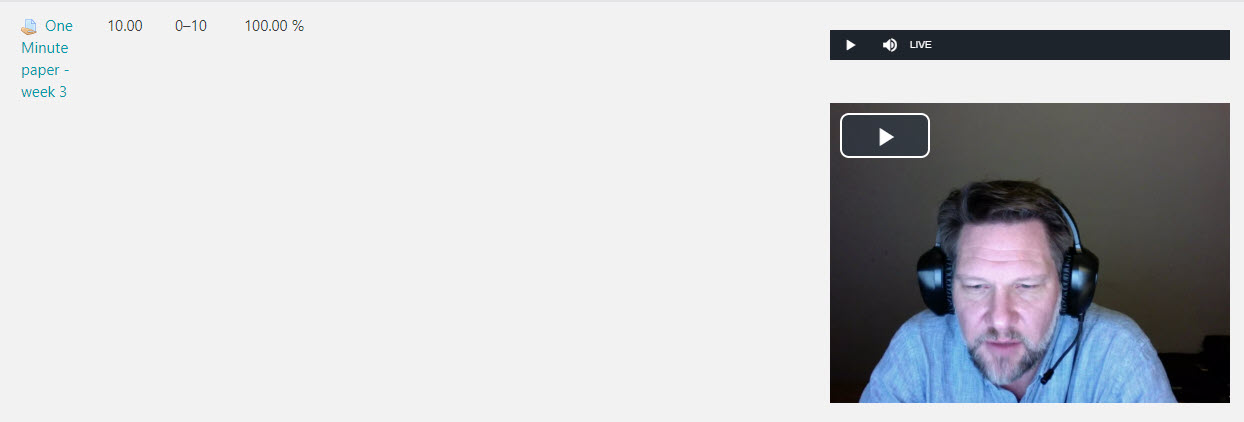
In the example above, the instructor recorded both an audio file and a video file providing feedback on your work. You can click to play either of these media files to learn more about how you performed. You would also see other forms of feedback here, such as typed comments or uploaded documents.